We all know that a professional graphic designer is almost always the best option for your book cover. But some budgets just don’t allow for it, and believe me, I understand that.
So, for those of you who either can’t afford a pro or just want to make your covers yourself and don’t care if it’s advised against, I want to share some tips to help you do it just a little bit better.
Now, let me start by saying that I am not an expert. Just an author with a background in art who’s made some mistakes and learned from them.
So, I’ll be doing a two part blog series all about book cover design.
First and foremost, we need to talk about typography.
You might be wondering why I’m not starting with the images behind the text, because after all, it’s just text on the cover. The picture is all that really matters, right?
No. The words on the cover, their placement, the font, the size, the color, all of these things are incredibly important.
You cannot just slap some text on your cover and call it done. Bad typography can ruin a cover, even if you have a beautiful piece of art behind it. When you get it right, it can make a world of difference.
Since typography is so often underestimated, that’s where we’re starting. So, let’s dive in.
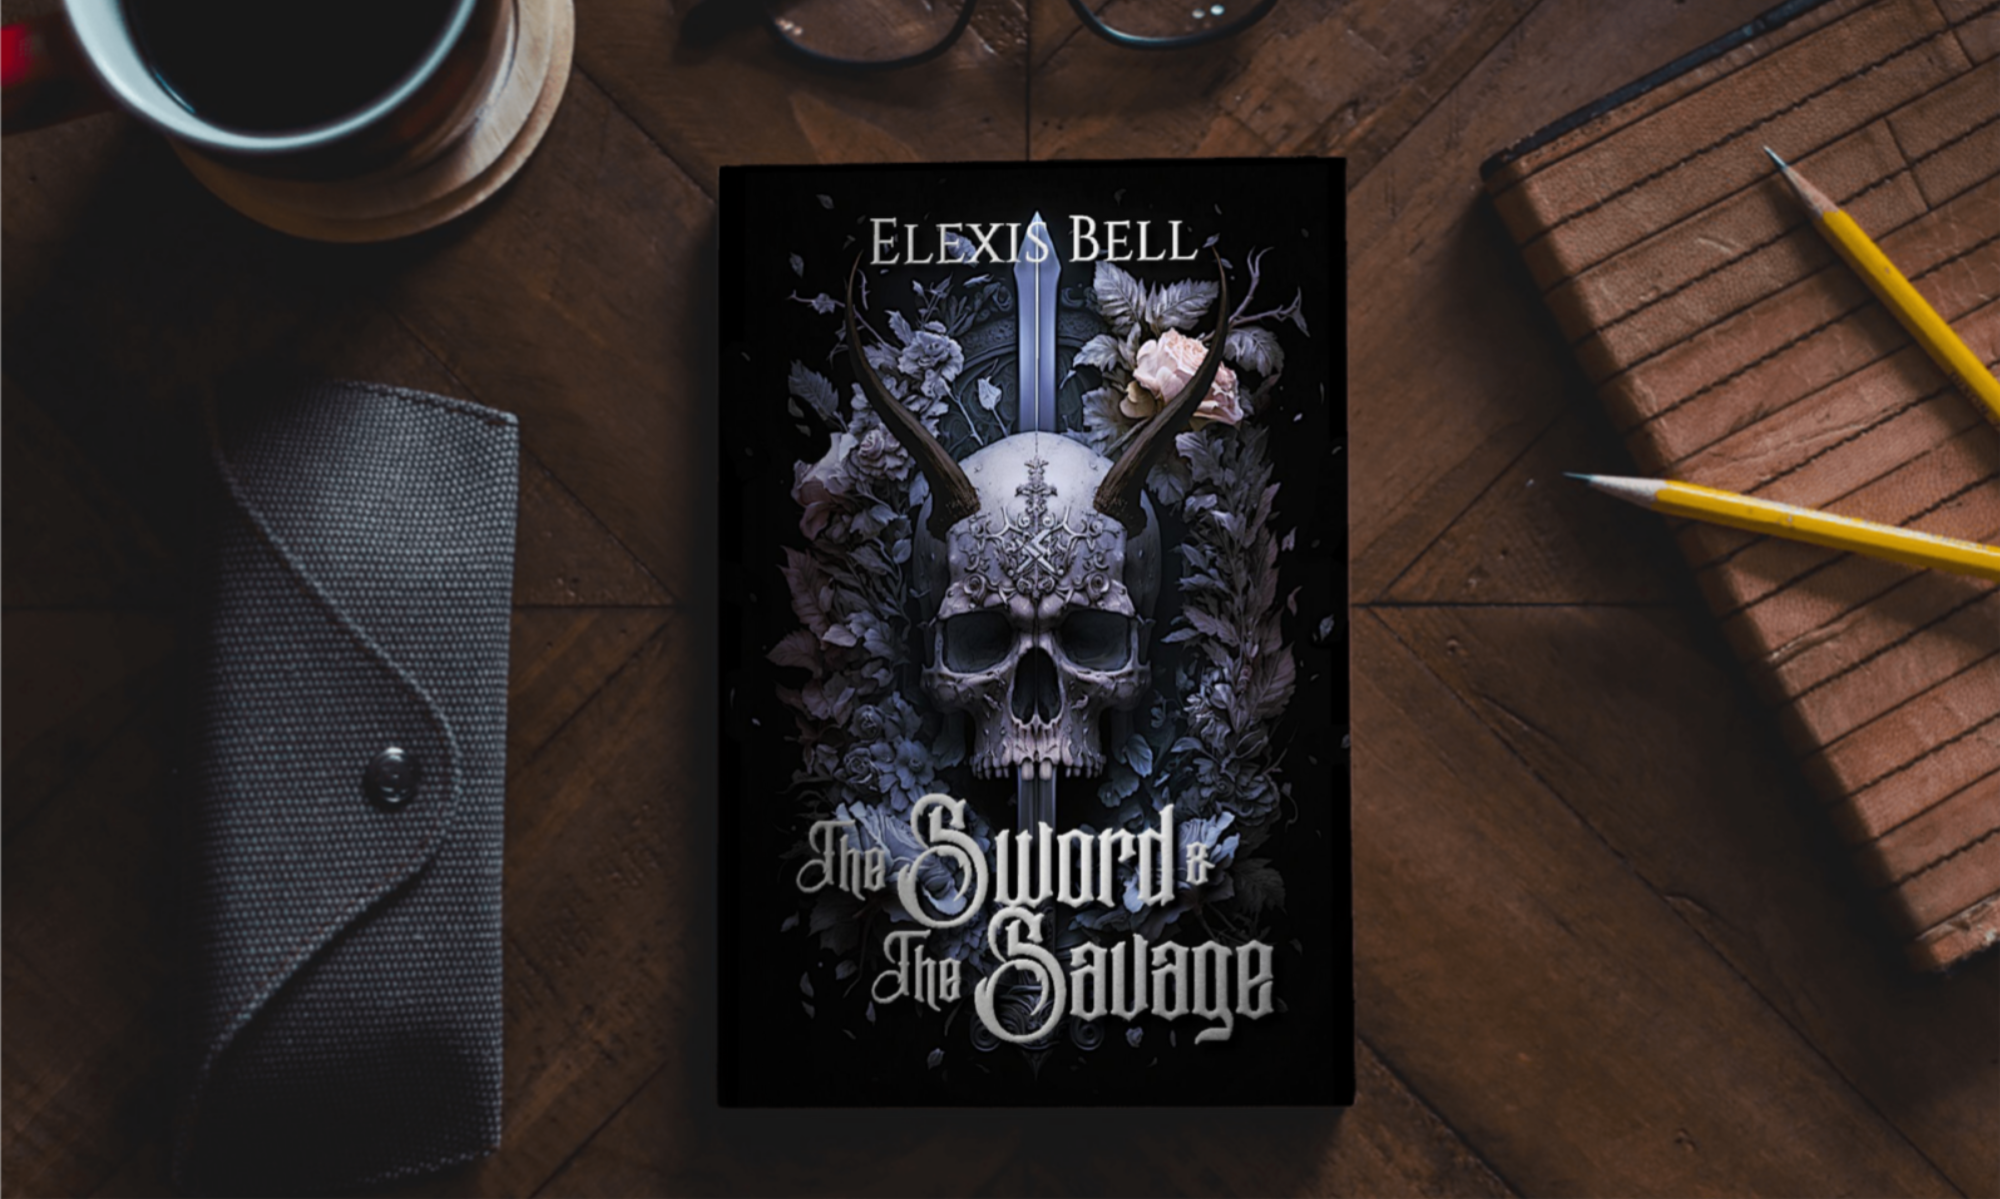
1. You don’t need a super fancy font.
I know, if you’re just starting out with graphic design, you might think you need all the curlicues and flourishes, or maybe a drippy font to look like blood if you write horror. But you don’t.
You need a legible font.
If people can’t read it, they probably aren’t going to zoom in and stare at it trying to figure out what it says.
Look at big name books. The fonts are simple so people can read them easily. There might be a little thing added here and there, but not many. The super ornate, cheesy fonts don’t get a lot of air time.
It’s hard to go wrong with a good sans or serif font. There are tons of fonts within either of those types. Just search for either “sans” or “serif” in the fonts of whatever program you’re using.
If you’re stumped (because there are a ton of these fonts), do a Google search to see what’s commonly used in your genre.
Some genres use a secondary font to make one word in the title pop, but for the most part, try to limit your fonts to one or two.
2. There is absolutely nothing wrong with black, white, or gray/silver text.
You don’t have to color match your text to your cover. Your main goal is to have that text be as readable as possible while still looking appropriate for the cover. The colors mentioned above are great for that.
And while we’re on this topic, avoid using one color for this and another color for that and a third color for something else and a fourth and a fifth…
Some genres use a bold color (or a cursive font, as mentioned above) to make one word in the title pop, but for the most part, try to limit your font colors to one, maybe two.
3. Center your text.
There are occasions where off-center text can help balance the composition of the art on the cover (a thing that we’ll get into when we talk about artwork), but the vast majority of the time, it should be centered.
4. Don’t be afraid to take up some real estate with your name and title.
Don’t squash all the words down, hiding them in a corner to show nothing but that art. Yes, the art is important, but that’s not what people are going to type into a search bar to find your book.
They’re not going to go tell their book lover friend, “Hey, you should read that book with the dragon on it.” And if they do, their friend is probably never going to be able to find your book.
The title and author name should be easy to read, and since the thumbnail of your book is the thing they’re most likely to see, that means the words need to be big enough to read even if the cover is shown at a small size.
Especially your author name.
If someone searches for your book title, awesome, they find your book. If they search for your name, they find ALL your books.
And for people who have read your work before, seeing your name might be all it takes to get them to buy another book.
But let me put it simply.
How do you expect to take up space in the market if you don’t even take up space on your own cover?
5. Big text means partially covering your artwork, and that’s okay.
People will still see that beautiful piece of art. The text isn’t likely to be big block letters that cover everything. And if it is, you can always play with transparencies to show the image through the text.
Just don’t do that with a really spindly font.
Now, with these tips in mind, review whatever cover you’ve created for your book. As with every art form, these are, of course, guidelines more so than rules. Every one of these things has its exception.
But they’re good guides to follow.
If you’re ever in doubt, get feedback from other authors, artists, and book lovers. And please, go into the feedback process expecting negative and positive feedback, ready to learn and improve and grow.
Come back next week for some tips about the artwork behind the typography.
Don’t forget to subscribe to stay up to date on all my books, releases, and giveaways. I send my newsletter out every Monday with exclusive content and sneak peeks, and there’s a free short story ready for download on sign-up.
Keep reading. Keep writing.
Later.